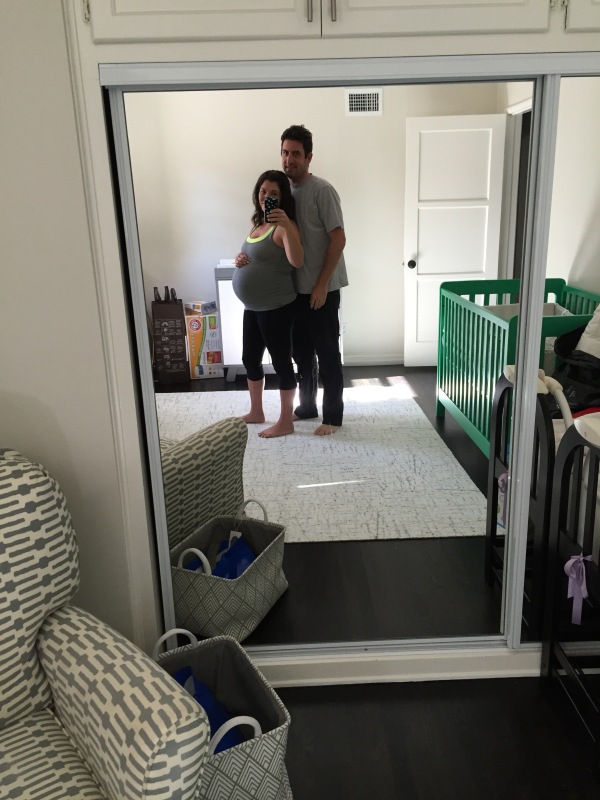
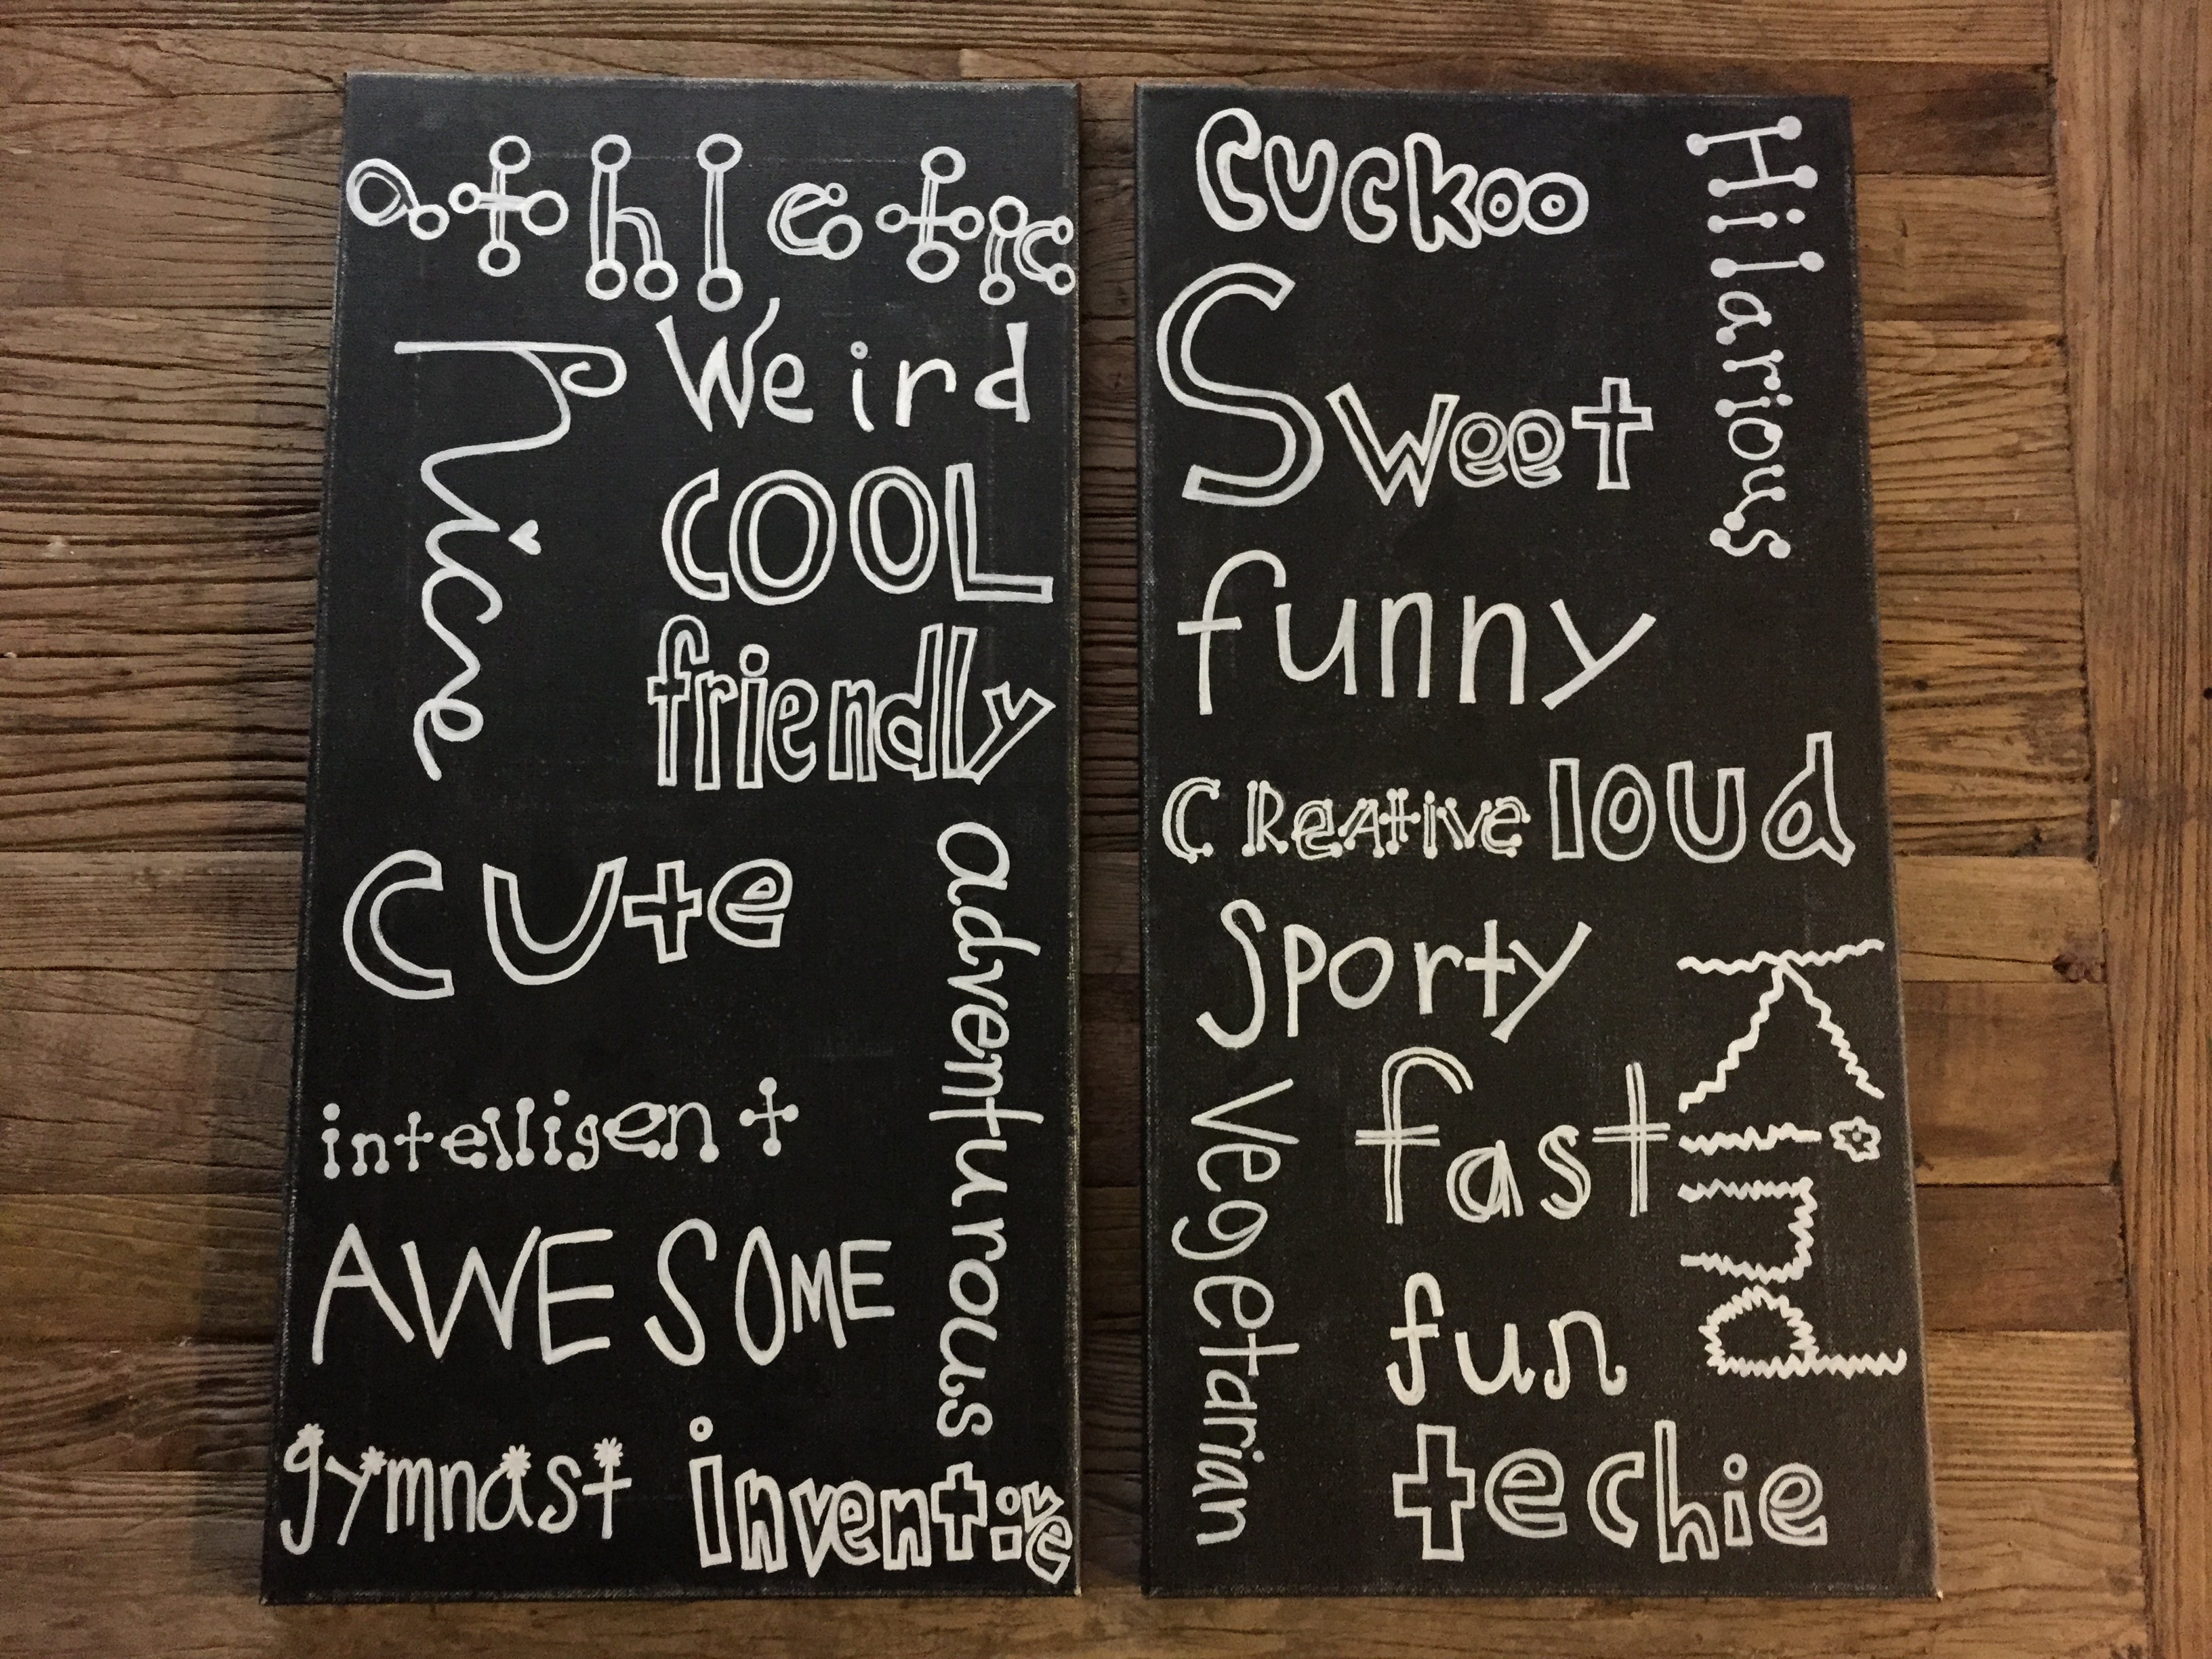
When I was pregnant with Jonah, I started dreaming up my vision for his nursery the minute the plus sign appeared on a stick. Months before he was born, his nursery was complete– not a detail amiss. It was darling from top to bottom and somehow I even figured out how to perfectly organize it… I hadn’t even had a child yet I instinctively knew the best placement for diapers and wipes and the most logical place for blankets and other needs in the middle of the night. I mean, it was like the mother of the year award was meant just for me. I was the best wasn’t I?
Eight glorious years later, the mother of the year award committee revoked my status and sent me back to the land of hot mess normal moms, where second time children of (divorced and then remarried) mothers with full time jobs, a new house under renovation, and an 8 year old, basically get nurseries that come together at the last minute. (Turns out second time children also don’t get photos printed up and stored in a lovely little album for all the world to see either… but that for another time).
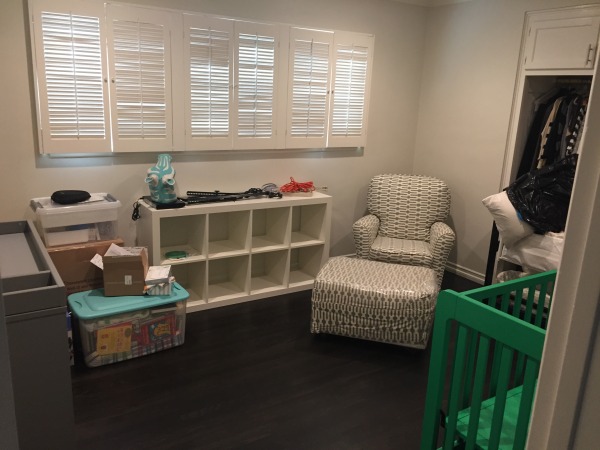
Yup, this time around, while I had grand and pinterest-worthy visions of Oliver’s nursery, the reality was that I didn’t really have the time or bandwidth to make it happen on the Jenny Brandt time-line that once was. For weeks, that room remained the catch-all room– filled with all the crap that should be housed in the garage (oy, the garage. Having angina just thinking about the cluster effer that that space is turning out to be… but I digress). I forced my husband and father in law to put together the crib about 2 months before my due date, but wasn’t until about 3 weeks before OBH was born that the nursery really came together.
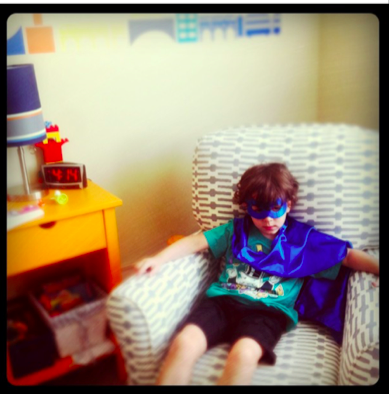
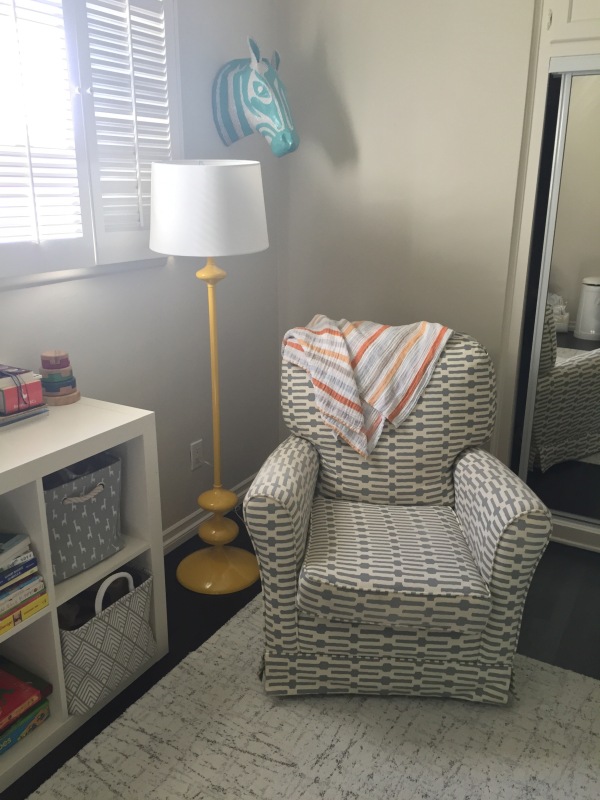
For me, Ollie’s nursery had to be easy. I wanted to keep it super simple (which is a good thing, because that’s exactly how it turned out). My jumping off point was a beige rocker that I used in Jonah’s nursery that I had recovered with a grey and white fabric when he was about 4.
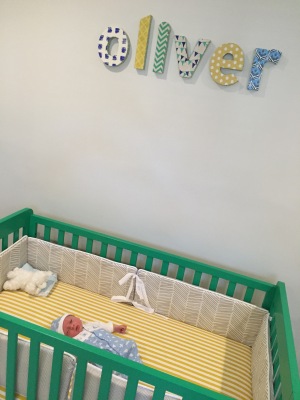
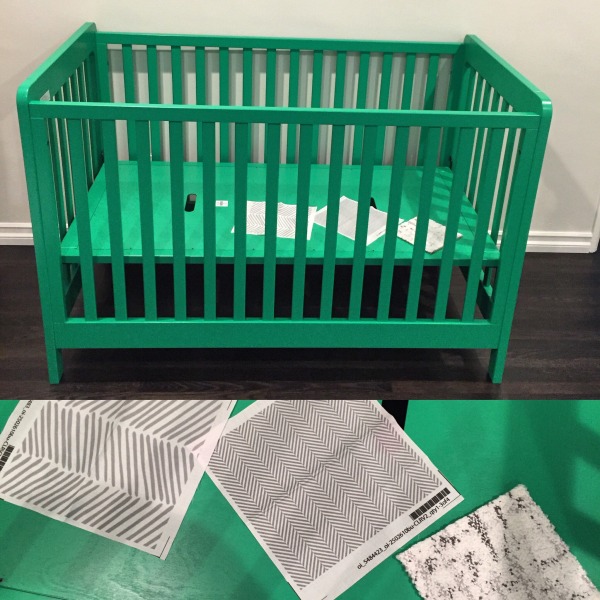
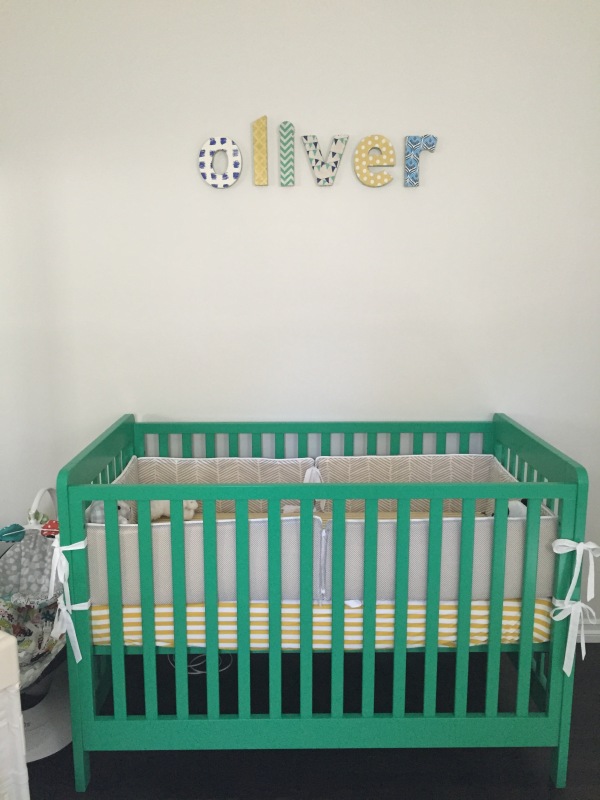
Next was crib… within 2. 5 seconds of looking at the Land of Nod website, I fell in love with the Kelly Green Carousel crib. Something about the brightness of the crib seemed so happy. Land of Nod will send you a sample of the crib (literally a piece of wood), and with that in my possession I was able to start piecing together other components like bedding.
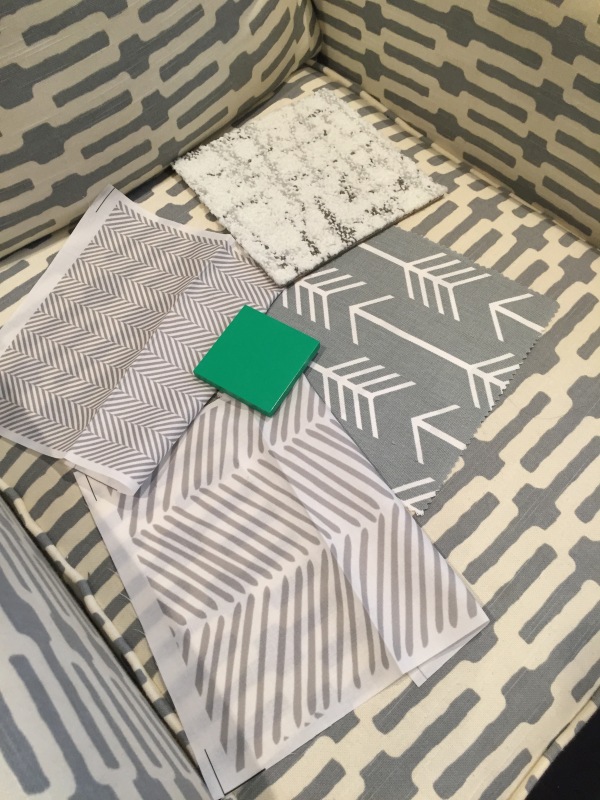
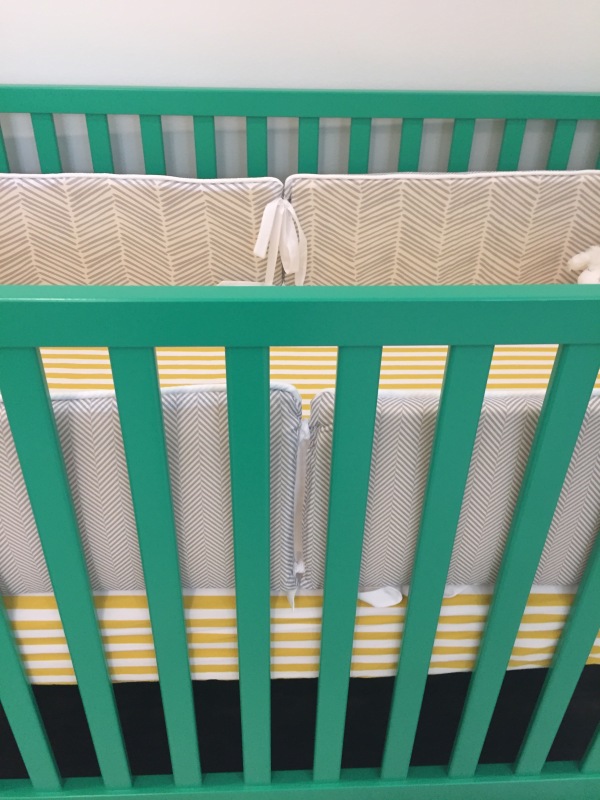
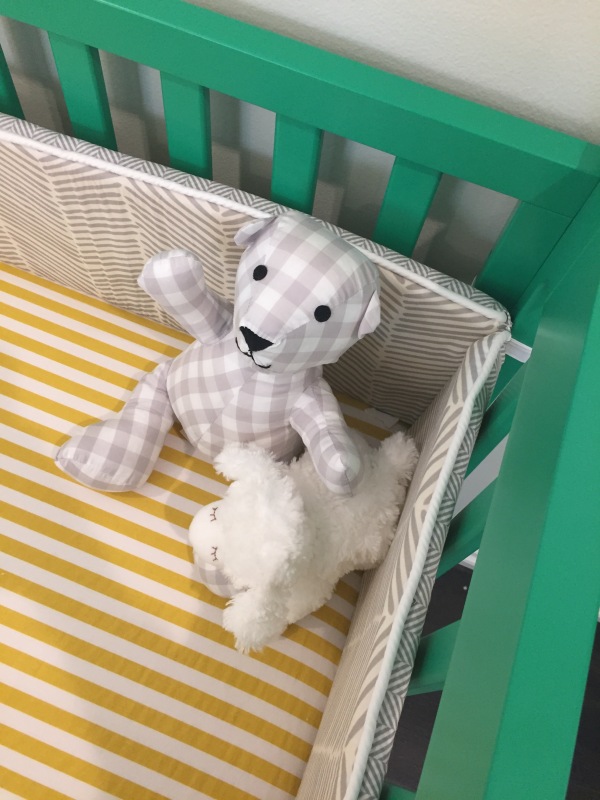
I spent a small fortune on bedding when Jonah was born. It was darling but expensive. This time around, (and with more important things on my mind like the need for sleep and saving for a night nurse!) I wanted to be practical, so I found a great shop on Etsy that made custom bumpers. For safety reasons, bumpers are only used in the very, very beginning so spending a lot didn’t make sense. I had her combine two different grey and white fabrics for the outside and inside.
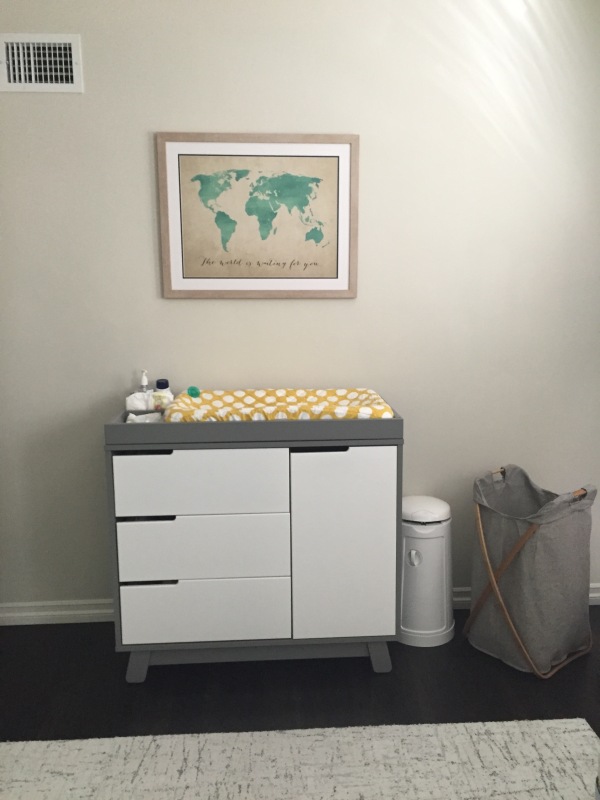
For our the crib sheet, I opted for a yellow and white striped sheet from Land of Nod and a coordinating yellow and white polka dot changing pad. (I also registered for a couple of grey and white sheets and changing pads via Etsy through Babyli.st).
For flooring, instead of purchasing a big rug, I purchased rug tiles from Flor. They were so so easy to lay down (with the help of another person) and I love that if a tile gets stained, you can easily swap it out (which makes sense in a heavily trafficked room that will be an area of play in the near future).
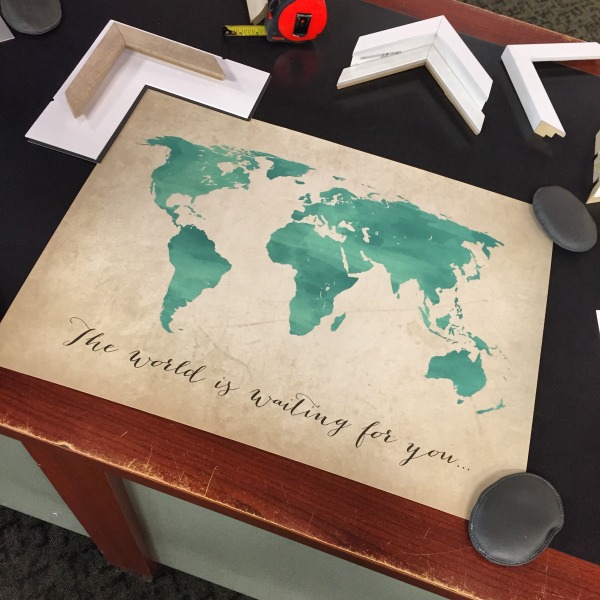
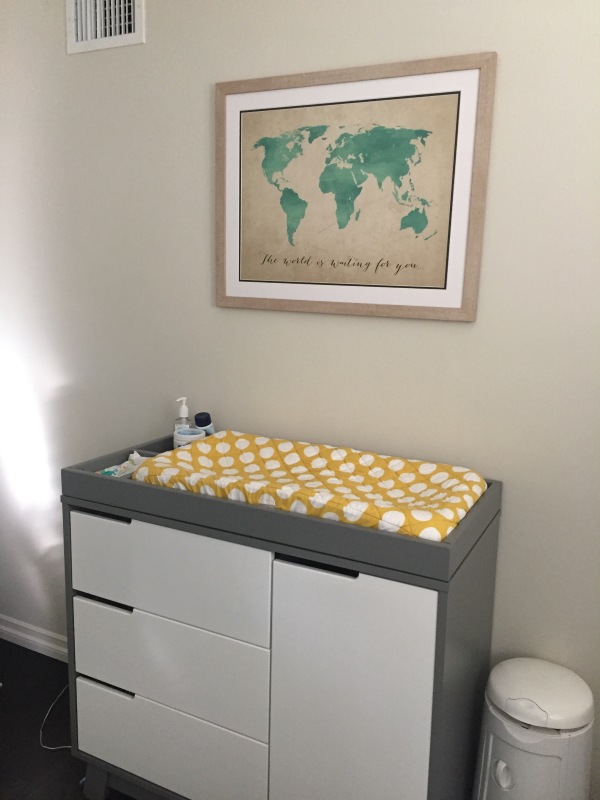
I had this vision of finding a vintage map and stenciling “Go places” or something inspirational, but in the spirit of this post, as you guessed, I didn’t have time… Seriously, thank god for Etsy. I found a shop that specialized in custom digital prints and had this awesome print made to hang over his changing table.
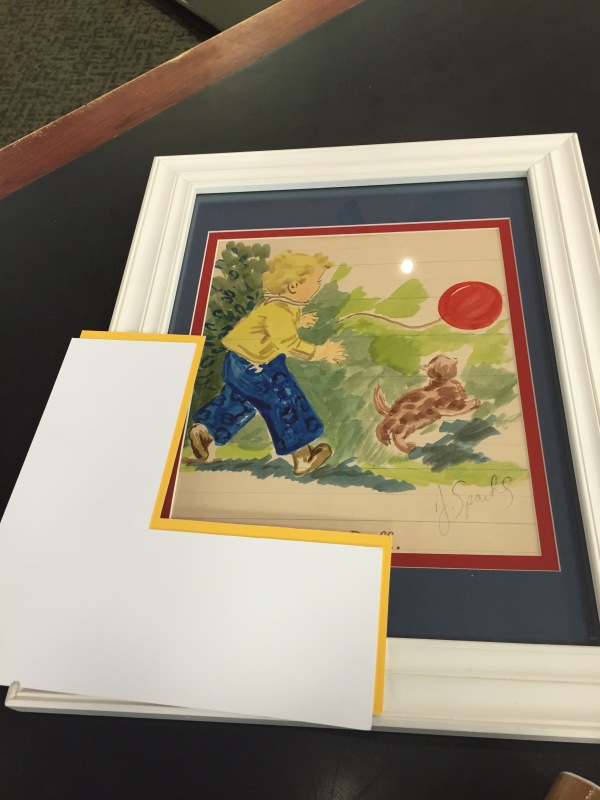
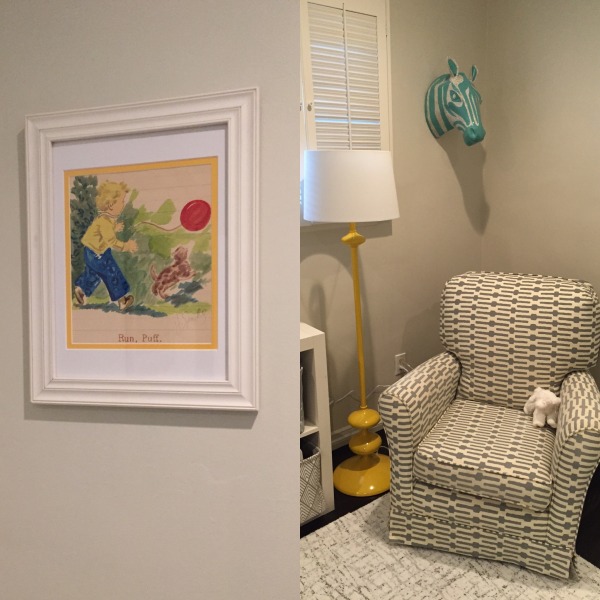
When J was born, my mom had a piece of artwork framed that hung in my room as a baby ( I forget the illustrator’s name but apparently he’s a famous children’s book illustrator). Because I’m a little crazy, and blue and red matting would never, gasp, never work in Ollie’s room, I had the piece reframed. I love that both Jonah and I had it in our rooms as babies and now Ollie…
I purchased a floor lamp in a coordinating yellow from Land of Nod (lamp shade from Target!) and hung a paper mache zebra head that I bought while I was in Haiti.
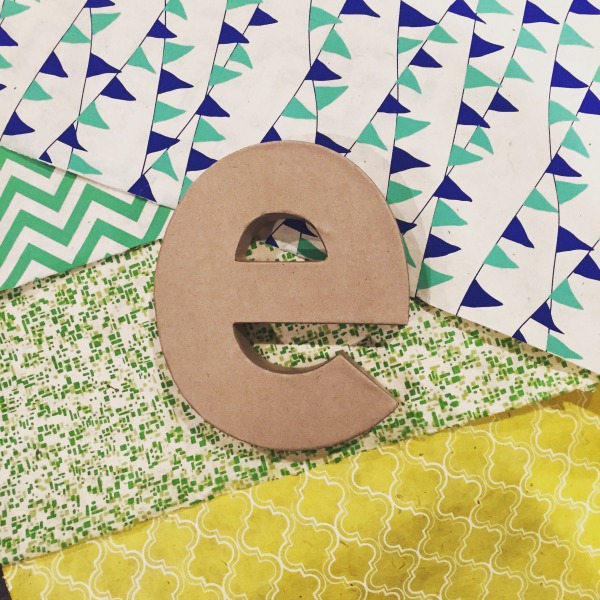
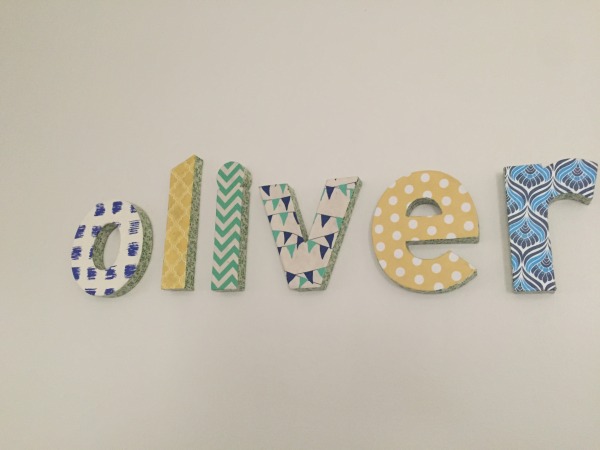
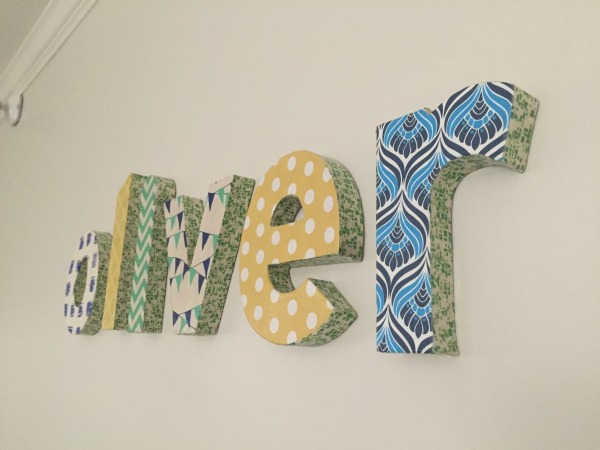
Continuing the tradition of the “when Jonah was born,” I also made Oliver’s name out of cardboard letters (purchased at Land of Nod – you can also buy at Paper Source). I love this project as it’s super easy and therapeutic. I simply buy specialty paper from Paper source in a couple coordinating colors (yellow, green and blue for Ollie’s room). I choose one paper to use on the sides of all the letters and then each letter gets a different paper/patern. I trace the letter, cut the paper and using mode podge glue and a paint brush, I paint the glue over the paper. It becomes clear and shiny. I use my finger around the edges to make sure the paper sticks and voila… you have letters!
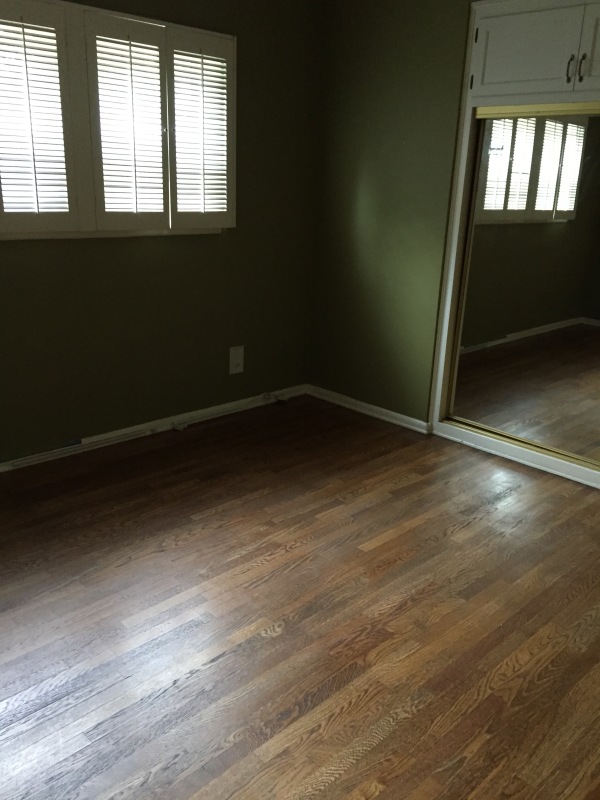
Here are some “before” pics:
Before we moved in….


